Packaging is what turns a food product into a CPG product. It is also one of the most decision-dense parts of bringing a brand to market—every layer of packaging requires choices about manufacturing capabilities, consumer experience, retail requirements, and freight survivability.
This guide walks through the packaging vocabulary you'll encounter during commercialization: the direct unit, the retail carton, the master case, the pallet, and the print methods used to brand them. Understanding these layers helps you make better decisions and ask sharper questions of your co-packer and design team.
Direct Unit Packaging
The direct unit is the actual container holding your product—the bottle, can, pouch, bar wrap, tub, or jar. Like pasteurization methods, direct unit formats are built into the equipment of high-volume manufacturers. Some plants fill bottles, others fill cans, others fill Tetra Pak. Choosing your direct unit narrows the set of co-packers who can produce your product.
This is one of the earliest and most consequential decisions you'll make. It shapes shelf presence, cost structure, supply chain, and which manufacturers you can even talk to.
Retail Carton and Tray Packaging
Most products that sit on a retail shelf also live inside a secondary unit—a carton or tray that holds the direct units. Nutrition bars, for example, are typically sold in 12-count retail cartons that protect the individual wrappers and let the brand show up clearly at shelf.
Retail cartons do a lot of work: they communicate brand at distance, hold a count that retailers prefer, and protect direct units in handling. The way they're designed affects both shelf appeal and operational cost.
Master Case Packaging
Master cases are the larger corrugated boxes used to ship multiple retail units. Most food manufacturers talk about volume—and bill—in cases, not in individual eaches. One of the first questions a co-packer will ask is: how many units go to a case?
Case sizing is a quiet tug-of-war. The industry has been trending toward smaller cases, partly to limit the cost of "free-fill" requests from retailers. On the manufacturing side, larger cases are more efficient: a co-packer can run more units between case changeovers. The right answer for your brand depends on your retail customers, your volume, and your margin structure.
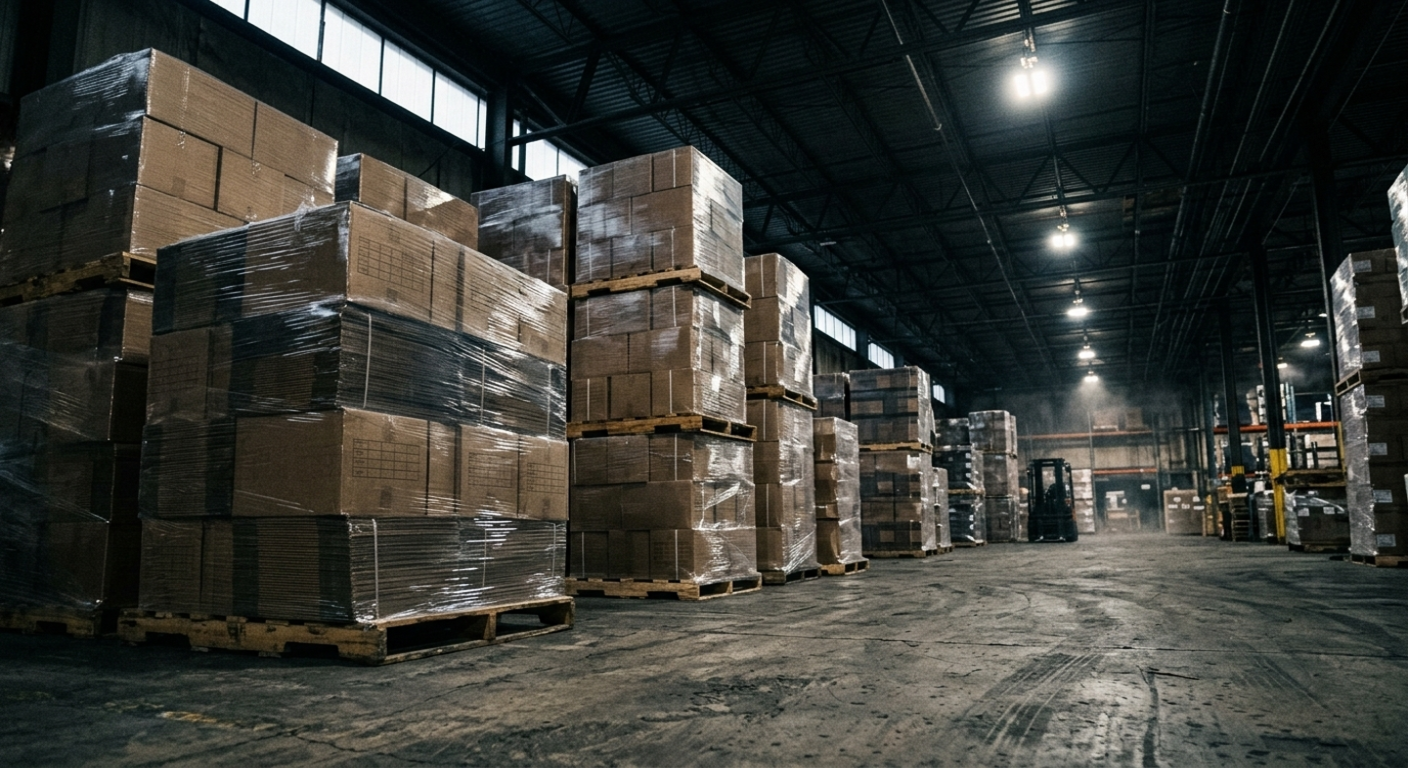
Pallet Specifications
Once cases come off the line, they need to be stacked, shrink-wrapped, and loaded onto a pallet for shipping. Co-packers will ask how you plan to palletize—how many cases per layer, how many layers, how they're configured—so the finished pallet survives freight and warehouse handling.
Pallet design isn't a detail to wave at. A poorly built pallet can crush bottom cartons, fail to fit a standard truck, or cost you returns and damage. It's worth working with someone experienced in pallet engineering to validate your configuration before your first production run.
Dielines and Preparing Artwork for Print
A dieline is the technical skeleton of a piece of packaging—the flat blueprint your designer drops artwork into, with cut lines, fold lines, glue tabs, and safe areas marked. A lay-flat dieline gets converted into a 3D folded product on press.
Working off the correct dieline from your printer or converter is non-negotiable. It's the difference between artwork that wraps perfectly around the final structure and artwork that ends up bisected by a fold or hidden inside a glue tab. Get the dieline early, and route it to your designer before any pixels are pushed.
Digital Printing vs. Plate Printing
There are two main families of print processes used in CPG packaging—digital and plate-based—and the right choice depends on your stage, volume, and design complexity.
Digital Printing
Digital printing works essentially like a large-format version of the printer at your house. There are no plates, which means lower upfront cost, easy artwork changes, and quick turnaround. The trade-off is a higher per-unit cost, which gets expensive as you scale.
For most early-stage brands, digital printing is the right choice for the first run. It lets you launch with full creative control, validate the product in market, and refine the design before locking in plate costs.
Offset / Plate Printing
Offset and other plate-based methods (including higher-end processes like rotogravure) print by transferring ink from a set of physical plates. The plates themselves are expensive to make, but once they exist, the per-unit cost drops dramatically. Plate printing is also generally regarded as higher quality at scale.
Plate printing makes sense once your design is locked, your volume is large enough to amortize the plate cost, and you don't expect frequent artwork changes. Any change in artwork can mean new plate work, so design decisions become more permanent.
Direct Print vs. Litho Label for Trays and Master Cases
When it comes to printing on corrugated (cardboard) structures like trays and master case shippers, there are two main approaches: litho label and direct print.
Litho label: artwork is printed onto a flat sheet at very high quality—often using six to eight colors—and then converted onto the corrugated structure. It's more expensive than direct print but produces a beautifully finished package suitable for premium brands or anything with photographic imagery.
Direct print: artwork is printed directly onto the corrugated structure at the time of manufacturing. It's significantly cheaper per case but more limited artistically, typically capped at two to three colors and best suited to simple designs. For brands that want a brandable shipper without the litho price tag, direct print is a smart compromise—just design within its constraints.
Designing Shippers for the Real World
Many brands invest in custom packaging for their direct-to-consumer business. A great unboxing experience drives repeat purchases and turns customers into brand advocates. But beautiful boxes have to survive the rigors of UPS and FedEx.
A few practical lessons:
- White or brightly colored outer boxes show every scuff and forklift mark; they often arrive looking worse than the brand intended.
- Dark colors, kraft brown, and textured finishes hide handling damage.
- Critical visual elements should live inside the box, not on the outer shipper, if you want them to land for the customer.
- Test ship samples to multiple destinations before locking design.
Side-by-side, two master cases shipped from the same 3PL can arrive looking completely different based on color and material choice. Design for the worst-case shipping path, not the studio photo.
What’s a Rich Text element?
The rich text element allows you to create and format headings, paragraphs, blockquotes, images, and video all in one place instead of having to add and format them individually. Just double-click and easily create content.
- double-click and easily create content.
- double-click and easily create content.
How to customize formatting for each rich text
Headings, paragraphs, blockquotes, figures, images, and figure captions can all be styled after a class is added to the rich text element using the "When inside of" nested selector system.
How to customize formatting for each rich text